
Overview
This guide explains how to connect a WisePad 3 card reader to MyFoodFast POS for taking card payments. It is supported on Android devices only — the web version of MyFoodFast POS can't connect to a card reader — and requires a Stripe account connected in your Back Office.
How do I get the card reader?
MyFoodFast does not supply the card reader — you order the BBPOS WisePad 3 yourself, directly from Stripe. To keep everything tied to one account, order it from the same Stripe account you connect to your MyFoodFast Back Office, not a brand-new one.
Note: Order the reader as early as possible. Stripe ships the hardware to you, so allow for delivery time before your go-live date. Cash and online card payments don't need the reader — only card payments taken on the POS reader do.
- Connect Stripe in Back Office first. Go to Setup > Integrations > Stripe and connect your Stripe account (see Setup guide: Card payments for website and app). This is the account that will receive your payouts.
- Log into that same Stripe account at dashboard.stripe.com.
- Order the WisePad 3 from stripe.com/gb/terminal/wisepad3 → Order now. When Stripe asks you to sign in, use the account from step 1 rather than creating a new one. (If you haven't connected Stripe in Back Office yet, Stripe will prompt you to create an account — an account is required to purchase a Terminal device.)
- Wait for the reader to arrive, then follow the setup steps below to pair it.
Note: You don't need to "register" or "allocate" the reader to your account anywhere. The WisePad 3 is a Bluetooth reader — once it arrives it pairs to the MyFoodFast POS app over Bluetooth, and MyFoodFast handles the rest automatically.
Prerequisites
Before you start, make sure you have:
- A WisePad 3 card reader (see How do I get the card reader? above)
- An Android device with the MyFoodFast POS app installed
- An active Stripe account connected in Back Office
Setup steps
- Connect Stripe. In Back Office, go to Setup > Integrations > Stripe and connect your Stripe account, then connect the card reader location on the same page. Once connected, the Connection Status shows Connected.
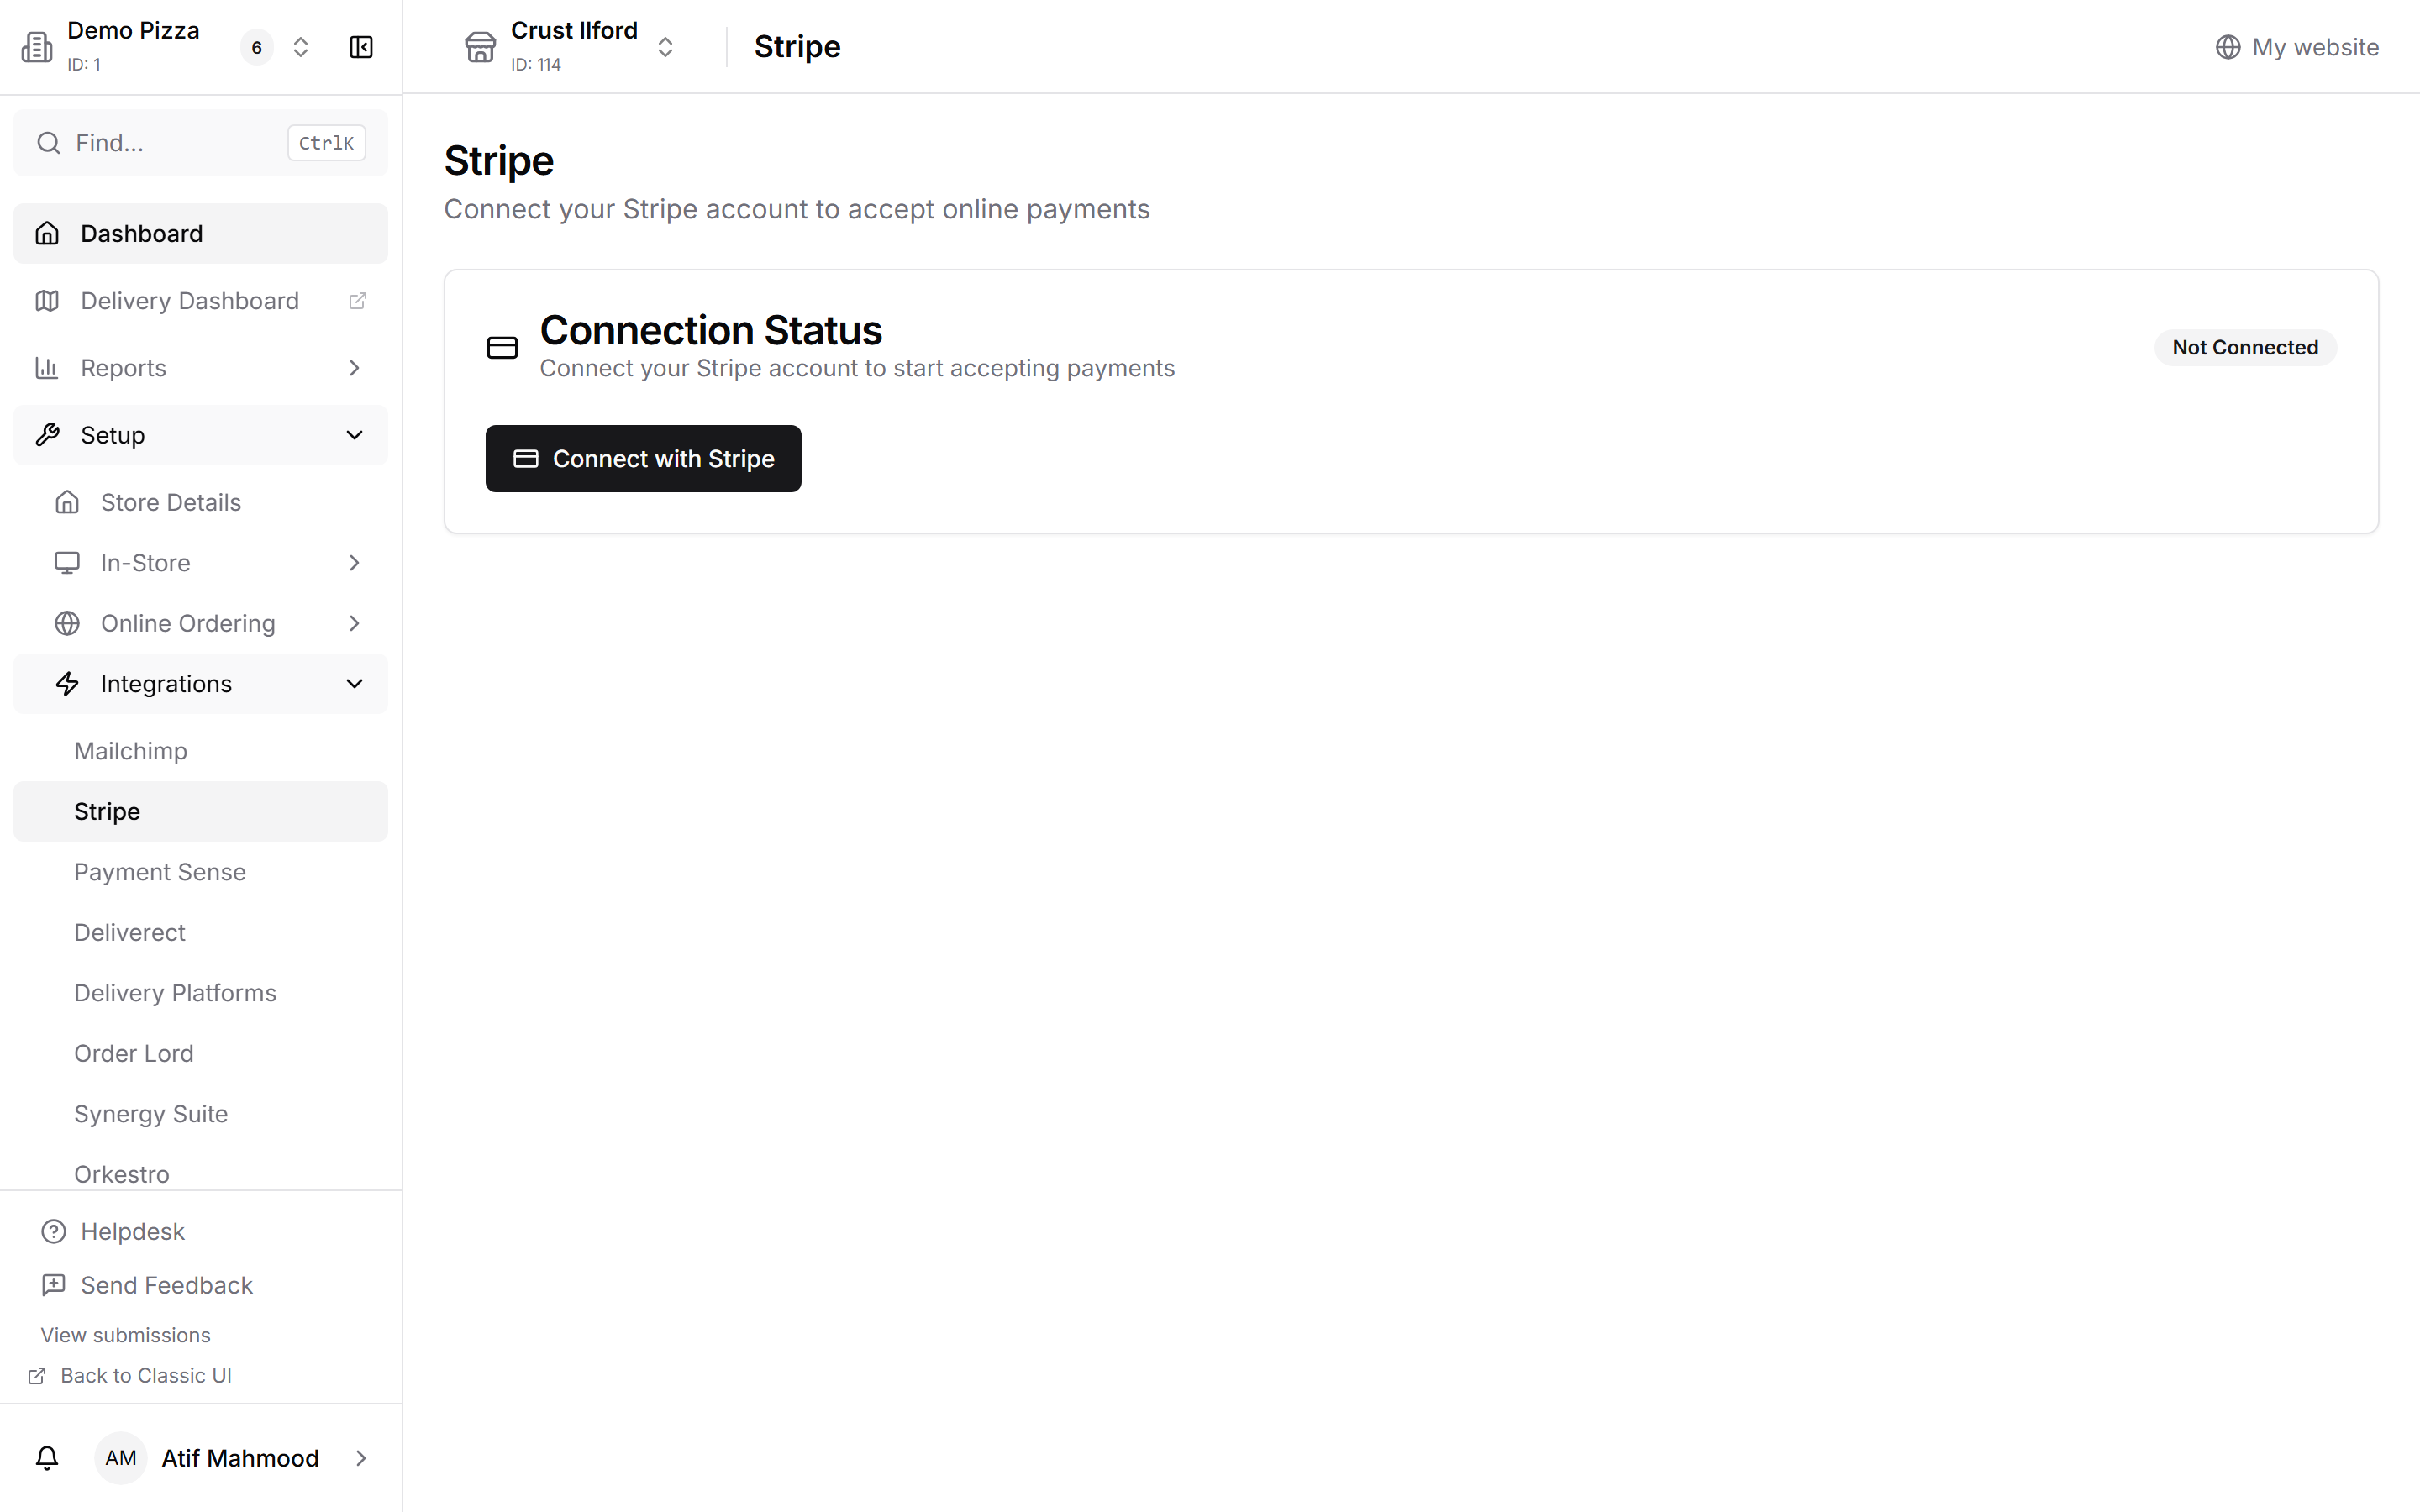
- Enable Stripe payments. Turn Stripe on as a payment option under Setup > In-Store > Payments.
- Power on the reader. Switch on the WisePad 3 and make sure it has enough charge.
- Enable Bluetooth. Turn on Bluetooth on your Android device.
- Launch the POS app. Open MyFoodFast POS and tap the Terminal icon (with the red dot) next to the Settings icon to start pairing. The dot turns green once connected.
- Test a transaction. Create an order and choose Stripe as the payment method to confirm the reader takes payment.
Verification
Once connected, you'll see a confirmation message that the reader is connected, and the Bluetooth icon stops flashing on the reader.
Troubleshooting
- Check Bluetooth is enabled and the reader is in range.
- Restart both the reader and the Android device if pairing fails.
- Make sure the WisePad 3 is in pairing mode — press and hold the Bluetooth button until it shows as discoverable.
- Confirm the Stripe account has no restrictions and the card reader location is connected in Back Office.
For unresolved issues, contact MyFoodFast support.